
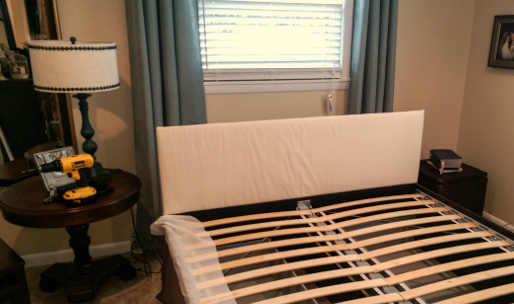
Our move was quick, and in the winter. We needed additional storage, so… we bought an Ikea Brimnes bed frame. It has large drawers under it, but it’s very plain. Not how I would have built one at all, but very workable.
The problem is that we needed it to be about 4″ off the wall. I hate when my pillows fall behind the bed! Solution, a short, padded headboard.
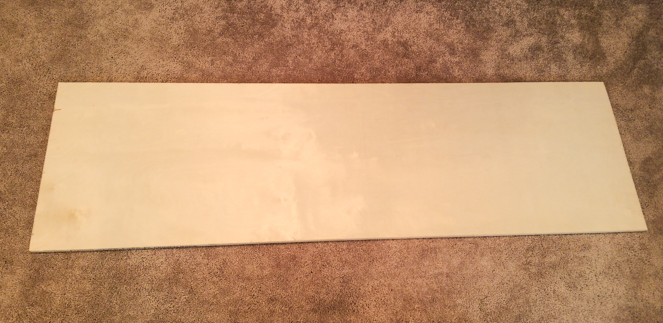
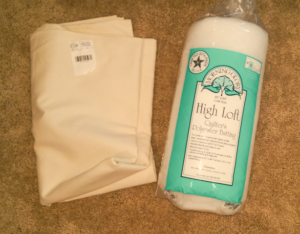
I started with a piece of 3/4″ plywood that I already had on hand. I sized it to 18″ by 62″ to fit the bed frame box (use a table saw or a skill saw). We used a polyester batting material, and some cotton duck, that looked good with the bedding.
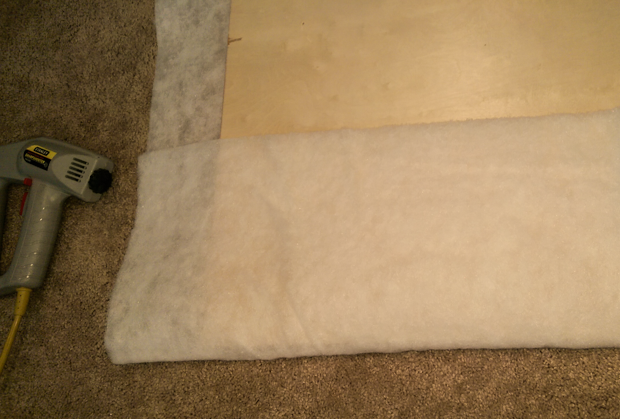
Roll out the batting and double it up to match the headboard. I used a staple gun to attach the batting in a few points. I could have laid it out on the cover material, but chose not to.
Inspect the cover material and decide if it needs ironed out. Ours did not, so we laid it out on the floor. Now center the headboard panel on the material.
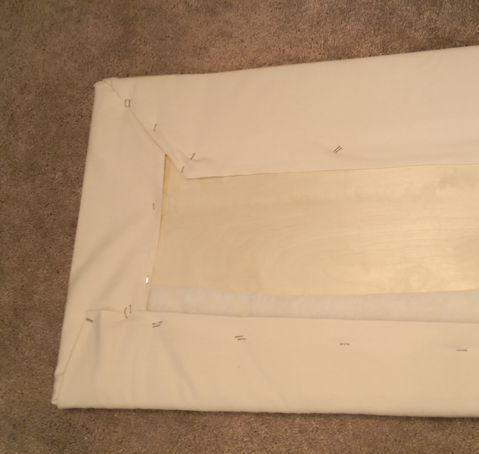
Starting in the center staple one side. Pull the material tight from the other side and staple it. Now work your way down the sides about every 4 to 6 inches.
Once you near the corner (6 inches or so away), fold the side over, and create the corner you like in the material. Pull it all tight and staple down the sides.
Ok, now the padded panel is ready to attach to the bed. I would use 1×3 pine for the attachment rails. In my case these were 36 inches long. I drilled holes, centered in the rail, a few inches off each end, and again about 8 inches from the first two holes.

I attached the rails to the headboard using dry wall screws (1 1/4″). Set the assembly up on the back of the bed frame and drive the remaining screws into the bed.
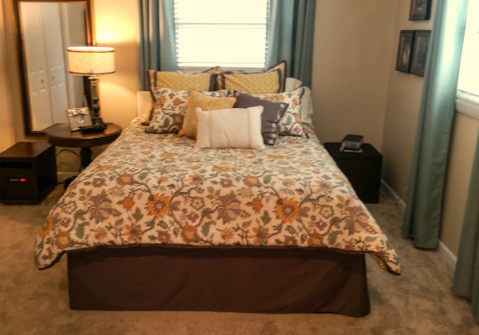
Result: a great backing for all of her pillows. A great place to rest my head when I’m reading in bed. And there you have it a quick padded headboard.
This is a really basic example. With a scroll saw you can create unique shapes to the headboard. You can use 2″ or 3″ foam, glued to the board, and covered in material for an expensive looking padded headboard. I then mark the foam with a marker, and cut it out with an electric knife (you know the one you use for carving a turkey).
You can drill holes through the board, and add buttons, tied with string, behind the panel.
Be creative and give this a try. Because the panel was scrap, this project cost less than $30.
Let me know what you think or if you have any questions.
Dan
bookmarked!!, I love your site!
Dan, would you mind expanding on the steps beyond the covering with batting and material, i.e., the attachment rails? I don’t understand what you did and am desperate to figure it out because I have a Brimnes bed with the storage drawers but I desperately need a headboard, one that doesn’t need to be attached to a wall because it won’t be against a wall. Yours looks doable, but I’m not clear where and how I affix the attachment rails to the upholstered piece. I think I get how you then attach the whole thing to the bed, but not where the rails go to make affixing the thing possible. Thank you.
Mary, I kept this very simple. I placed the rails about a foot from each end and used drywall screws (1 3/4″) to attach them to the headboard and the bed. If you used 3/4″ thick wood for the rails, you will want to use 1 1/2″ screws, so they don’t poke through the board. If I were to do it again, I would bolt the rails to the bed, probably 1/4″ or 3/8″ bolts 2″ long, with washers. To do this, drill matching holes in the bed and rails. After 2 years the drywall screws in the bed pulled out from leaning against it.
Your tips is incredibly intriguing. https://www.youtube.com/watch?v=uMYQj2rkGT8