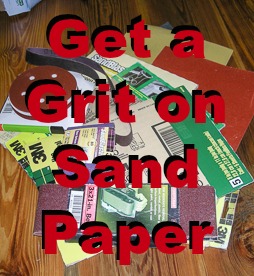
 In a recent post, I discussed the various tools for sanding projects (Tools for Sanding Success) , and just as there are a lot of ways to sand, there are a lot of options in sand paper.
Rather than going into a long technical explanation about sand papers, let’s explore the basics and make recommendations specifically for woodworkers.
Abrasive Materials
I recommend using Garnet paper. It works well with wood, and is inexpensive. You can use other papers if you like, but this works well.
- Pros – the material breaks down and creates a smoother surface.
- Cons – it wears out faster.
Grit
Sand paper is rated for aggressiveness by grit. The lower the number the more aggressive it is. General grades are grouped as follows:
- Coarse = 40 to 60
- Medium = 80 to 120
- Fine = 150 to 200
- Very Fine = 220 to 240
There are two grading systems that we usually see in the US, the FEPA (European Std) and CAMI (US Std). Their numbers are similar, and are comparable at 240 and below. Above this they start to vary a lot.
Closed or Open Coated
Open coated sand paper has spaces between the abrasive materials. Closed coated paper is fully covered with abrasives. So why do I care?
Open coated papers are best for soft woods like pine, fir and spruce. They tend to burn hard woods as you move to finer grits.
Closed coated papers are best for hard woods like maple, oak and walnut. They tend to clog up on soft woods.
How to Use
Give some thought to what you are doing. Starting too course will remove a lot of material and add deep scratches that you will have to remove later. Starting too fine can mean you’ve added a lot of work to the job. Try to match the grit to the job.
For rough cut lumber or flattening panels, I start with a belt sander and 6o or 80 grit paper. I sand at an angle, across the grain (40 to 60 degrees or so) and work back in forth in an X pattern. Once I get close to “flat” I switch to sanding with the grain, to remove the cross hatch scratches.
Then we start working up in numbers (finer paper), removing the scratches from the previous step. It really shouldn’t take a lot of work, if you don’t skip steps. If hand sanding or using a palm sander, go with the grain from now on. If its a random orbit sander, it doesn’t matter.
For softwoods, start at 120 and work to 220 when using a water based stain. Stop at 180 for oil based stains, or when painting.
For hardwoods, start at 120 and work to 180 for water based stains, and stop at 150 for oil base stains, or then painting.
End grain soaks up a lot of stain, so we want to sand it at least one more grit finer than than the surface. If you do this, the colors will have a better match.
So that’s it, a quick run down on selecting sand papers and how to successfully use them.
Do you have a different approach, or other recommendations? Let me know what you think, and subscribe to my blog for new updates.


Awesome article sharing about get a grit on a sandpaper. Different idea blog sharing for everyone. Before reading this post I don’t know about this topics. But now I am clear and get an idea about this. Thanks for your lovely sharing.